【转载】OpenVAS Ubuntu Installation and Tutorial
https://linuxhint.com/openvas-ubuntu-installation-tutorial/
by Ivan Vanney
OpenVAS is the open source version of Nessus, which emerged after Nessus became a closed source scanner. Nessus was among the first vulnerability scanners (of course Nmap is older and it can be used to scan holes as well). OpenVAS. It is considered one of the best security scanners, in this article I will show you how to install it on Ubuntu and give you a introduction to getting it setup and running your scans on Ubuntu systems. Lets get started.
OpenVAS Installation
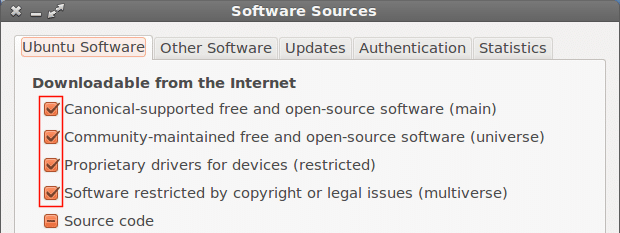
First of all we’ll need to modify our repositories as shown in the image:
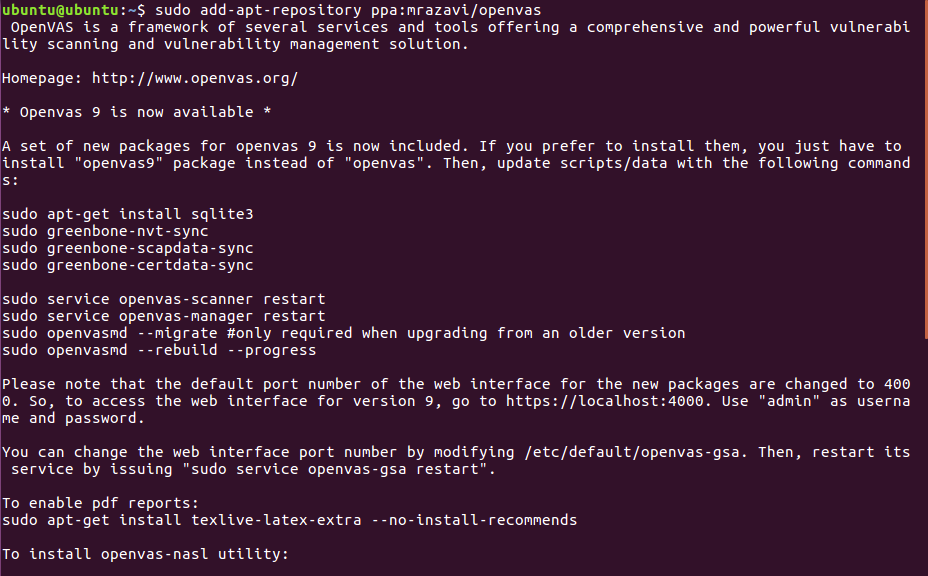
Then run :
Now let’s continue by downloading openvas9

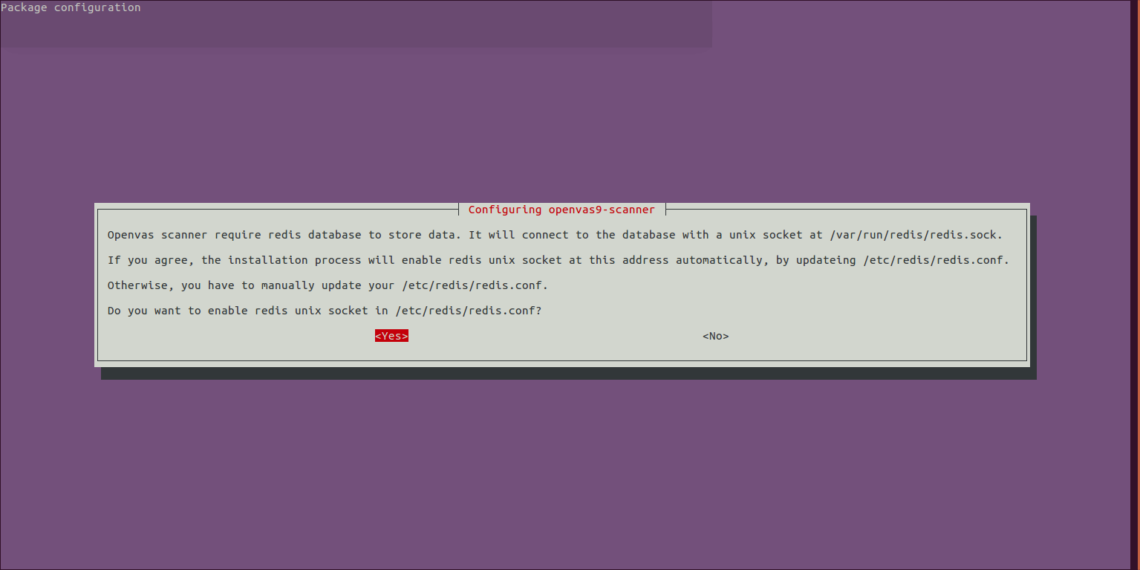
When asked if to proceed answer yes and continue the installation, a new screen asking YES or NO will prompt, just select yes and continue
After Openvas9 is installed, run the following commands:
sudo greenbone-scapdata-sync
sudo greenbone-certdata-sync
It may take an hour or more until the database updates.
After the sync ends restart the services and rebuild the vulnerabilities database by running
service openvas-manager restart
openvasmd --rebuild --progress


Last step to end the installation process:
Aftter installing we’ll open https://localhost:4000 and we must see the following screen:
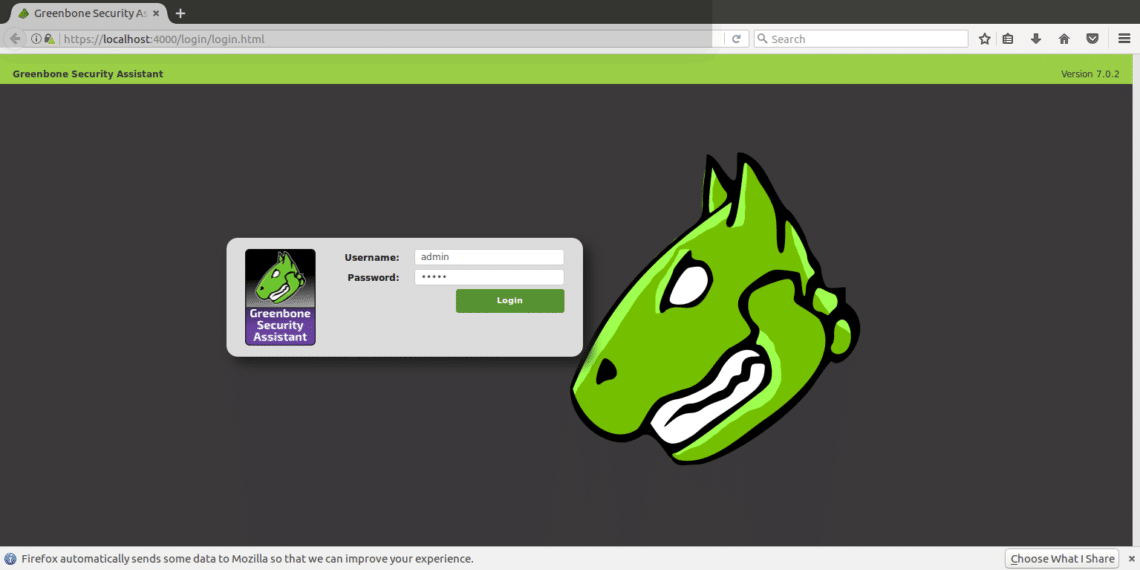
IMPORTANT: If you see an SSL error when opening the page, ignore it and continue ahead.
Login using “admin” both as user and password and once inside go to “configuration” and “target”.
Configuring our target and scanning requirements
Openvas can be used both from command line and through our browsers. In this tutorial I’ll explain to use it’s web version which is totally intuitive.
After logging in click on CONFIGURATION and then TARGET as shown in the following screenshot:

Once in “TARGETS” you’ll see a little icon of a white star within a light blue square, click there to add your first target.
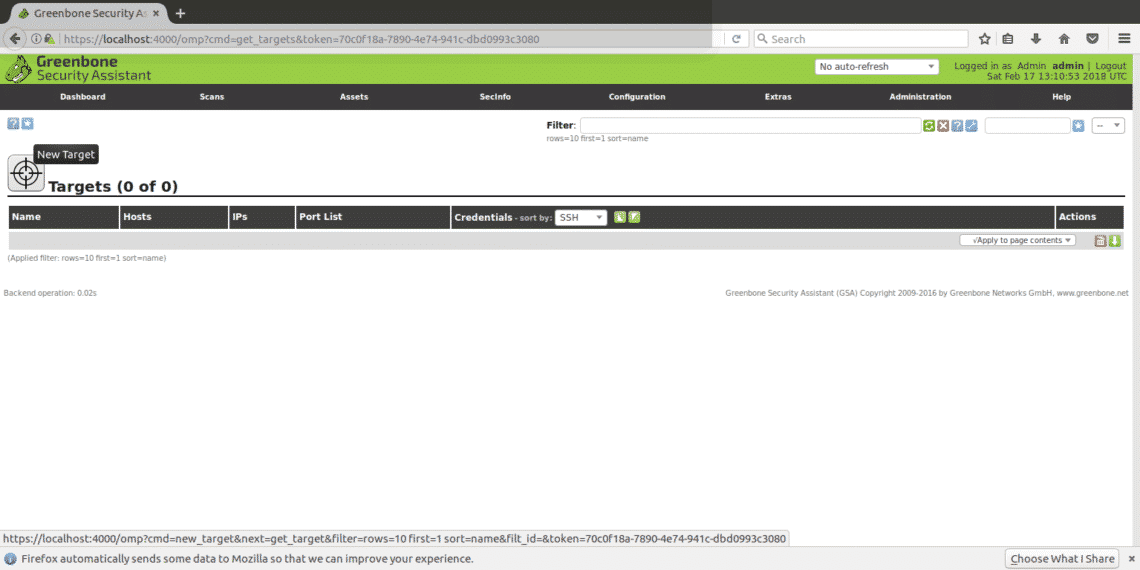
In the next window we’ll see the following fields

Name: Here you write the name of your target.
Comment: no comment
Hosts Manual / From file: You can set the IP or load a file with different hosts, you can also write a domain name instead of an IP.
Exclude hosts: If in the step above you defined a range of IPs here you can exclude hosts.
Reverse Lookup: I guess, I only guess these options are to discover domains linked to an IP if you input an IP instead of a domain name. I left this option NO as by default.
Port List: Here we can choose what ports we want to scan, I recommend to leave all ports both TCP and UDP if you have time.
Alive test: Leave as default, but if your target does not return ping (like Amazon servers for example) you may need to select “consider alive” to carry out the scan despite the lack of ping.
Credentials for authenticated checks: You can add your system’s credentials to allow Openvas check for local vulnerabilities.
You need to input an ip address or domain name, the range of ports you want to scan and credentials only if you want to check for local vulnerabilities, and a name to identify the task.
To continue, in the main menu (the same menu bar in which we found CONFIGURATION) you’ll find “SCANS”, click there and select “TASK” from the submenu and in the following screen you’ll see again a white star within a light blue square on the top left side of your screen (exactly like when we created the target).
The window shown below will prompt
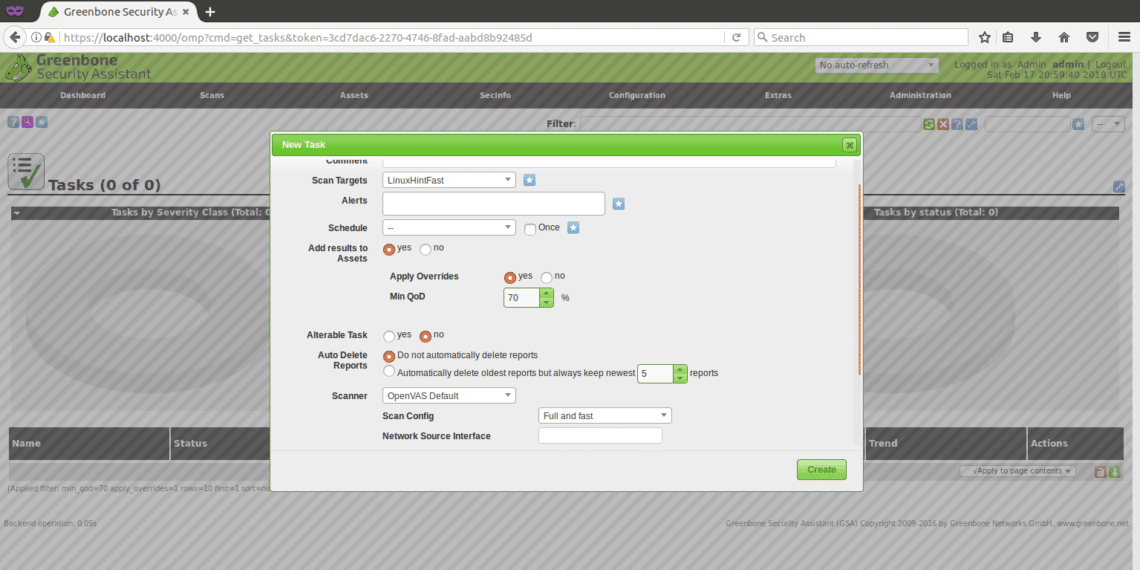
Scan Targets: here we’ll choose the target we want to scan, it is a drop down menu which will display all targets we define.
Alerts: sends a notification under specific conditions, you can get email notifications for example, it is not useful to us now.
Override: This is useful to modify the reporting behaviour of Openvas. Through this feature you can prevent false positive or get Openvas to notify conditions otherwise it wouldn’t.
MIn QoD: This mean “Minimal quality of detection” and with this option you can ask OpenVas to show only real potential threats. If you set 100% and Openvas detects a hole, it is for sure a functional security hole, an exploitable one, for this tutorial I left the default 70%.
Autodelete: This option allows us to overwrite old reports, you can choose how many reports do you want to save per task, by default if you mark to autodelete Openvas will save the last 5 reports but you can edit this.
Scan Config: This option is to select the intensity of the scan, to try Openvas select a fast scan before going with a real target. The most deep and ultimate scan may take days…
Network source interface: Here you can specify the network device.I didn’t for this tutorial.
Order for target hosts:Touch this option if you selected an IP range or several targets and you have priorities regarding the order in which targets are scanned.
Maximum concurrently executed NVT per host: Here you can define the maximum of vulnerabilities checked for each target simultaneously.
Maximum concurrently scanned hosts: If you have different targets and tasks, you can run simultaneous scans, here you can define the maximum of simultaneous executions.
Scanning the target
After all the steps above, we’ll receive the following screen, in order to start the scan we need to press the white play button within a green square at the bottom of the page, where our task “LinuxHintFast” appears.

You can wait there or optionally click on your task’s name and you’ll get the following screen
You’ll need to refresh the page to see the progress. Once the scan is completed you can click on “RESULTS” to see them, and optionally you can download them as XML, I attach the XML reports of a scan against https://www.linuxinstitute.org as example (with the webmaster’s approval).
After clicking on results you’ll see the following, in which 6 medium warnings appear. Click on the marked area (the yellow one,which can be red if the warnings are severe) to see details.
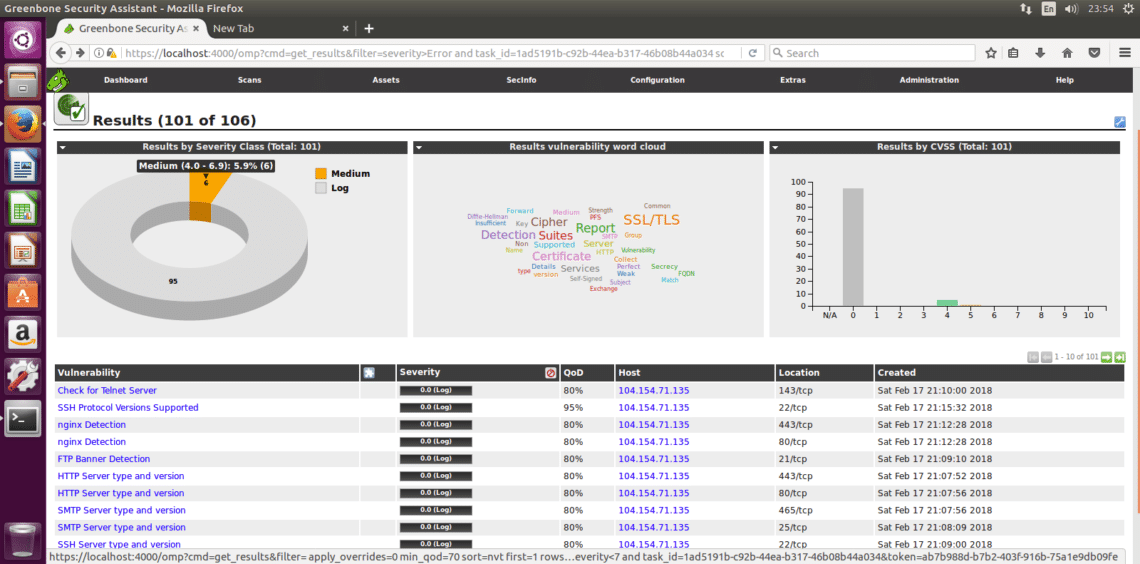
Here the detailed list of the 6 medium vulnerabilities detected:

I hope this introduction to OpenVas and installation guide will get you started with this very powerful security scanning solution.
来源:网络
智能推荐
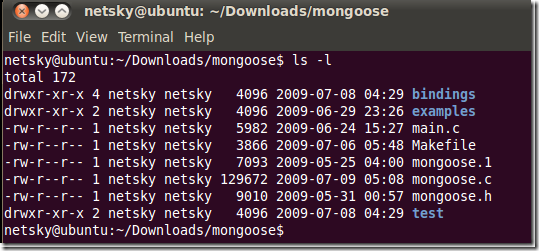
Mongoose源码剖析:Introduction and Installation
引言 要剖析Mongoose的源码,首先你得知道它的一些基本情况和特性、并去使用它。本文就是介绍Mongoose是个什么东西?及如何安装和使用?这里假设你知道什么web服务器软件、web服务器使用什么协议、怎么提供服务等,如果你还不知道建议首先阅读:《Mongoose源码剖析:外篇之web服务器》。 本文主要内容如下: 1、Mongoose介绍 2、Mongoose的编译和使用 3、Makefil...
Julia Atom IDE installation and settings
Julia Atom开发环境搭建 Step 1:Download and Installation。 Atom: Atom Download Julia: Julia Download Step 2: Julia Atom Settings After installing Julia, U firstly activate Pkg package by: using Pkg Pkg.update...
HANA 2.0 Cockpit Installation and Configuration
2019独角兽企业重金招聘Python工程师标准>>> SAP HANA 2.0 Cockpit Installation and Configuration How to Guide December 14, 2017 | 17,350 Views | Former Member SAP HANA, platform edition HANA 2.0 ...

Ubuntu:Package vim has no installation candidate
1.更改下载源为国内服务器 Close之后弹出窗口选择reload,等候加载完毕 2.Terminal依次敲命令 bingo~...

Virtualbox安装Ubuntu,please remove the installation
问题解决: 这个问题是给在本机上安装Linux时用的,意思是安装完成,把光碟拿出来来,然后关上光驱的托盘推进去,然后按anter键重启。 如果你是在VBox里面通过iso文件装ubuntu,你就在Bbox上面的下拉菜单的-》设备-》分配光驱的iso文件 把那里的选择框擦除。 然后按Enter 键重起。 2.如果你是在VBox里面通过光驱装ubuntu,把光碟拿出来来,然后关上光驱的托盘推进去,然后...
猜你喜欢
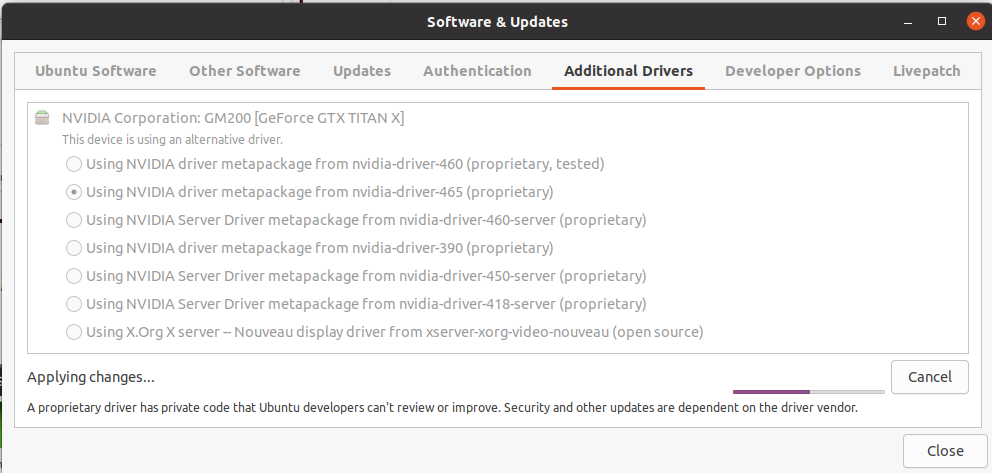
nvidia driver ubuntu 20.04LTS installation
I have to use my sanjiaomao Eng because I have no idea how to install Chinese in my desktop in the lab. it goes wrong : NVIDIA-SMI has failed because it couldn‘t communicate with the NVIDIA driv...

SuiteScript Tutorial - How to use it and why use it?
What you will learn: What SuiteScript is? How to create a Script record in NetSuite? How to write and upload a JavaScript file? How to run your scripts? How to turn off your scripts? Where to go next?...
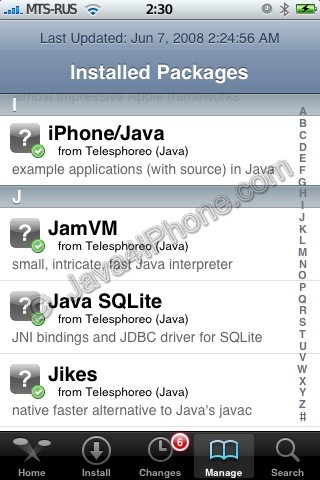
Tutorial: install and use Java on the IPhone
With this tutorial you will be able to install Java on the IPhone, compile and run simple Java applications using IPhone. I decided to split this tutorial into two different...
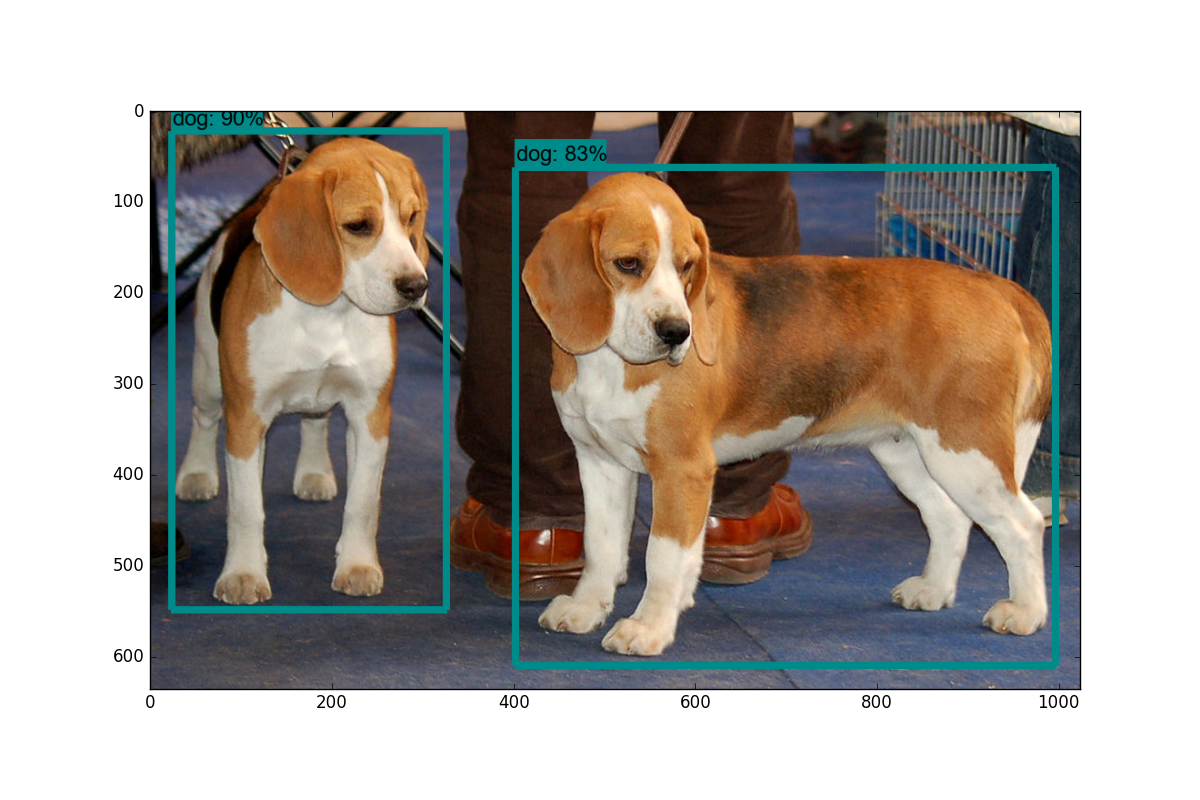
Introduction and Use - Tensorflow Object Detection API Tutorial
Hello and welcome to a miniseries and introduction to the TensorFlow Object Detection API. This API can be used to detect, with bounding boxes, objects in images and/or video using either some of...
硬件基础之电阻选型
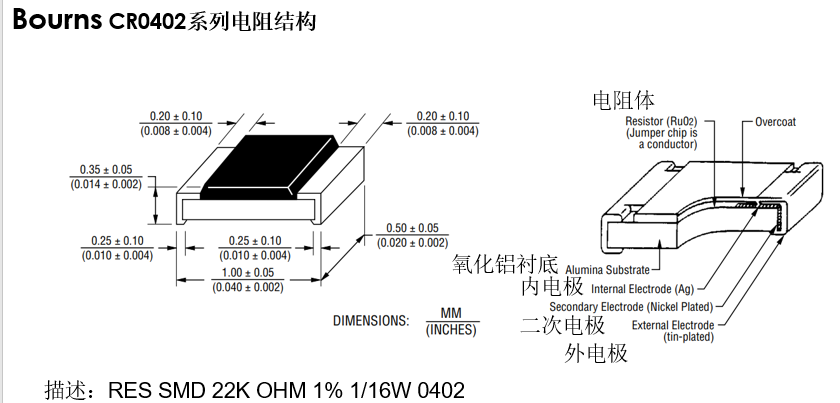
电阻的选型与应用 结构 降额曲线 电阻性能指标考量要点 上下拉电阻 结构 在选型电阻时,其规格(引脚间距及长宽等参数)也是重要的设计要素,下图为电阻封装0402的结构 上边描述中,SMD代表贴片封装,22K为阻值,1%为精度,1/16W为功率,0402就是封装。 降额曲线 电阻性能指标考量要点 电阻的额定功率大于电阻在应用电路实际工作功率。一般按额定功率的70%降额设计选用。 电阻在应用电路中实际...
问答精选
the meaning of python3.x syntax
I want to make a pascal triangle from python script. and this is my syntax that I get from web.programminghub.io the problem is, no explanation for every single of line from this script code. so can s...
Webview page loading error
Implemented a webview inside a app. It is opening some https pages.It has some ssl issues. I have added those conditions also to ask from user to proceed or not.Now successfully opening pages in highe...
Google+ Sign In / Access Control List (Limit Who Can Sign In)
I would like to use G+ sign-in to allow access to a secure area of a website. However, I would like to only authenticate certain users. Either by Approving them after they request, or pre-defining a l...
Retrieve multiple value in one session
when i add to cart i using Session["Cart"] = new List() { Id }; which is get the id pass from the query string but when i preview on the cartview event i add 2/3 product, it only will show 1...
How can I get SonarQube to analyse test code?
According to the documentation I've found Sonar will not analyse test code by default. I found some Jira's that indicate it should be possible but nothing with enough information on how to do it. It's...
相关问题
- 试图使用“ ajax-tutorial-tor-post and get”的答案
- Windows Limited User Installation
- AppFabric Installation Problem
- MYSQL installation with a .NET winforms app
- Paging not working in my wordpress installation
- Automatic installation of browser-plugins
- ANSI C蓝牙API和Tutorial Linux
- Tutorial for converting PHP applications to Cocoa?
- 简介Tutorial / s用于Web Accordisibility?
- Angular 2 Tutorial QuickStart无法加载组件
相关文章
- Ubuntu LAMP and WordPress Installation
- [Ubuntu]在VM中安装Ubuntu在Select and install software出现Installation step failed
- Ubuntu Code Blocks Installation
- Oracle and Perl installation conflict
- android studio installation and using
- Tutorial: Getting Started with Flex and Maven
- UFLDL Tutorial - Supervised Learning and Optimization
- Git Tutorial 5 - Branch and Merge - Local
- Vulkan Tutorial 17 Rendering and presentation
- paraview tutorial-Vector Visualization and Streamline
热门文章
推荐文章
相关标签
推荐问答
- How to sign manually an exe file with developer licence for Windows 8 RT
- How does html handle overlapping tags?
- JUnit test in nested Kotlin class not found when running gradle test
- Responsive Navigation Menu - Not flowing back to original structure
- In Django, how can I link a static file from within an extended HTML template?
- Adding a label programmatically in C#
- Spring JPA repository and QueryDsl how to force left join
- Scroll to newly added variable height div
- how to convert the string to hex code of the ASCII in C
- Is it possible to expand a FlagsProperty by default in a wxPython PropertyGrid?